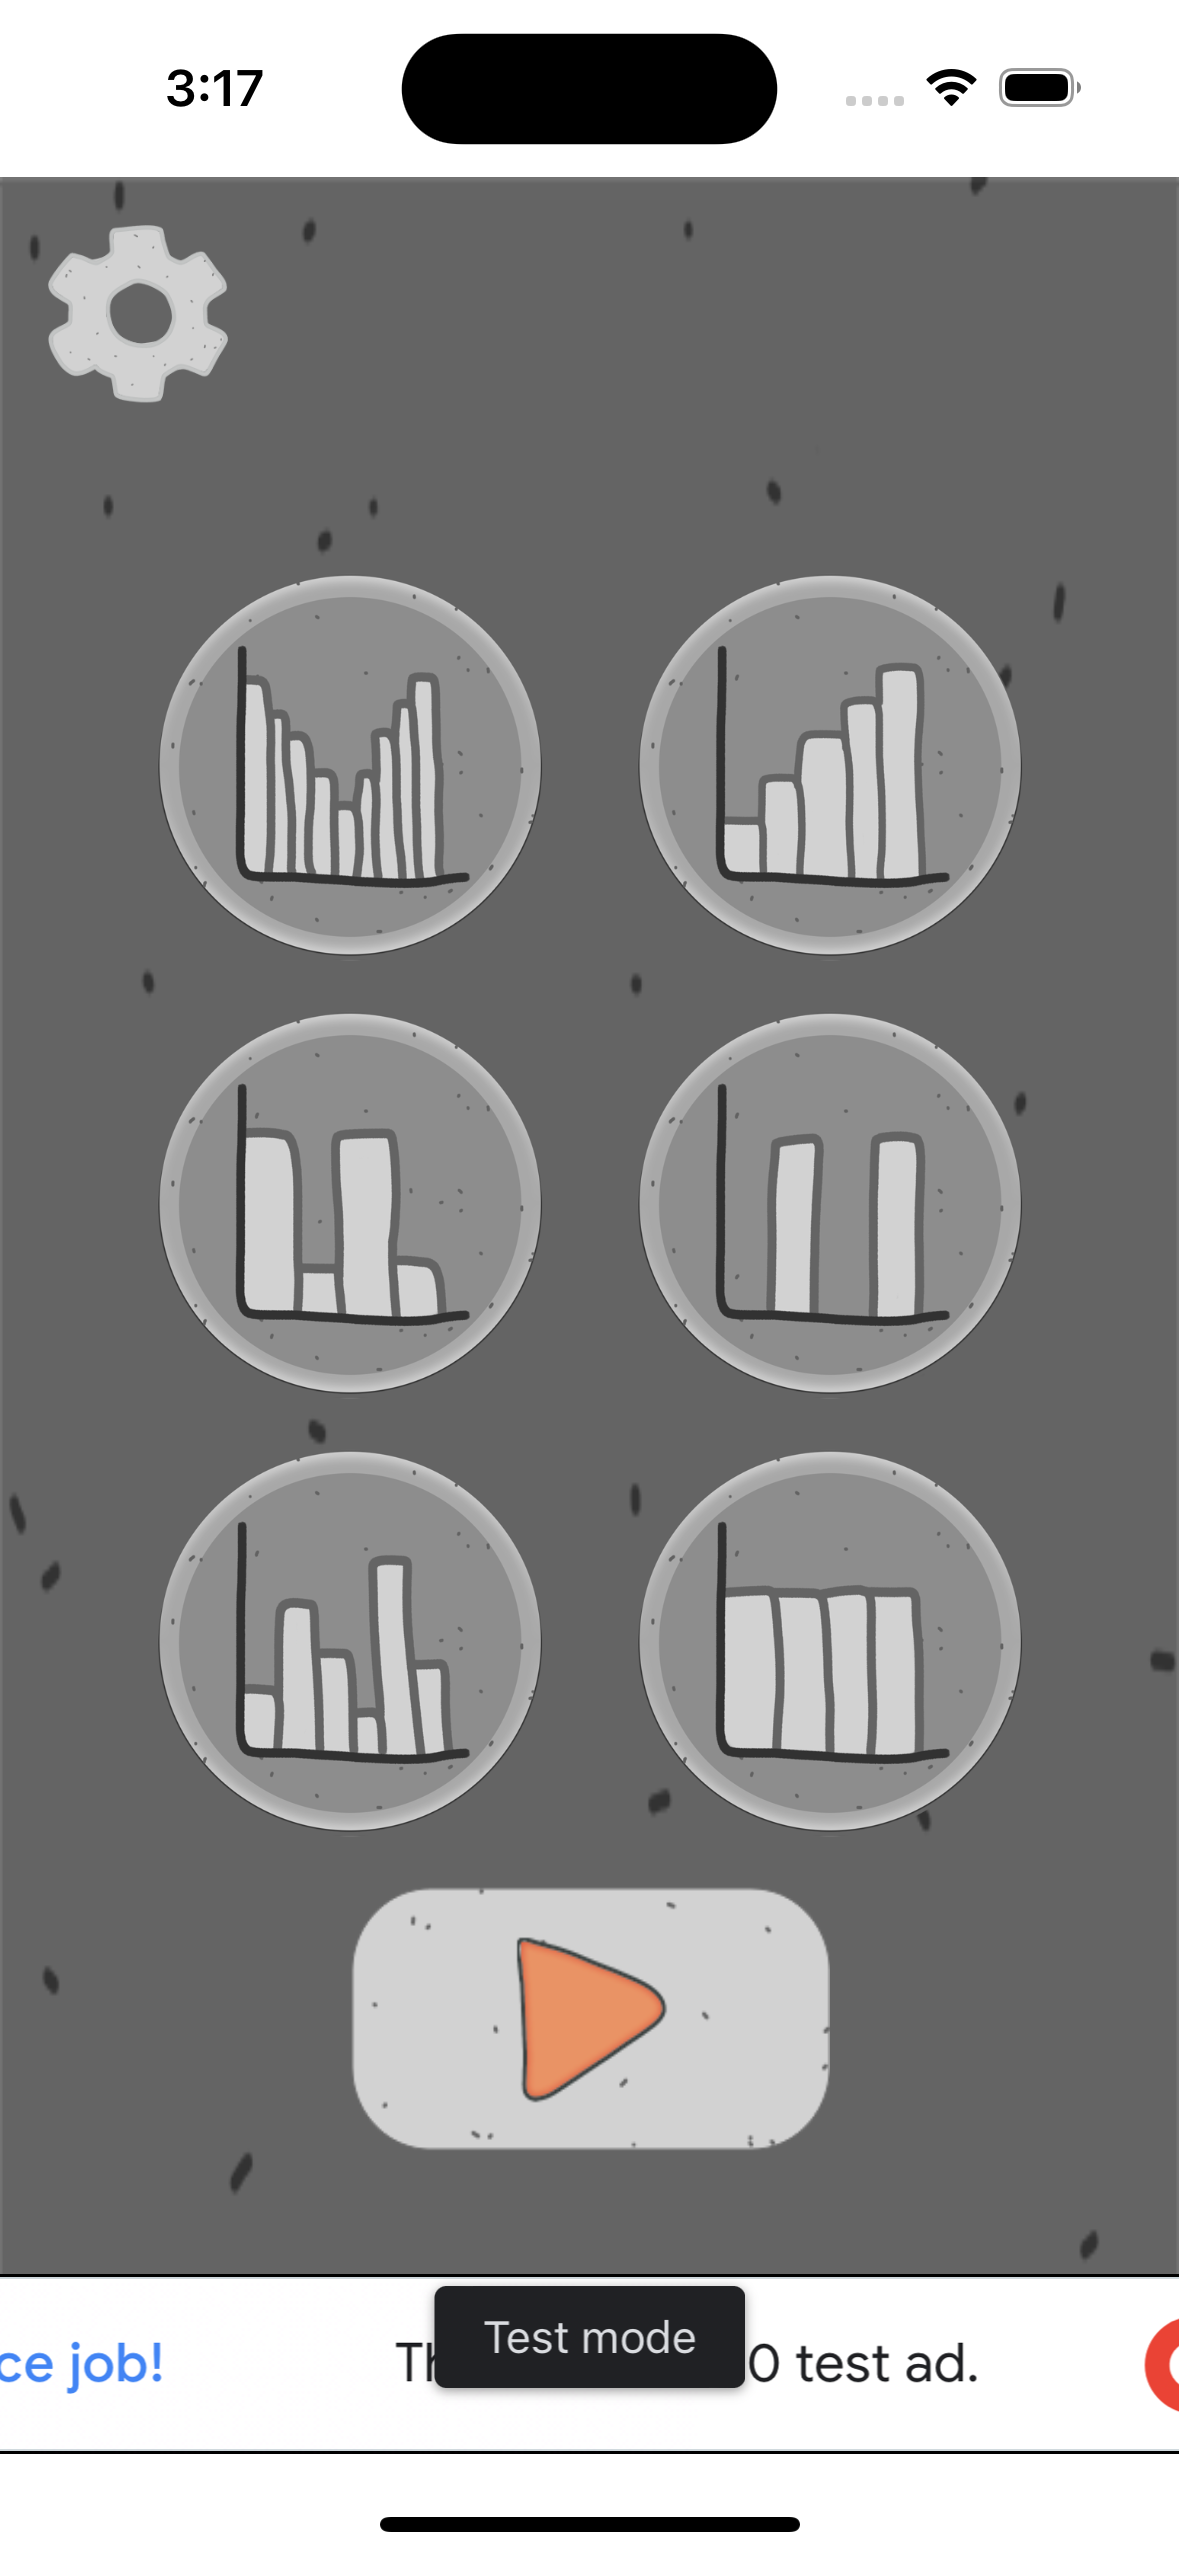
현재는, 광고가 없는 다음과 같은 화면이다.

AdMob의 배너광고를 넣을 예정
구현 링크 : https://developers.google.com/admob/ios/quick-start?hl=ko#import_the_mobile_ads_sdk
1. CocoaPods 설치
링크 : https://guides.cocoapods.org/using/getting-started#installation
: iOS에서 패키지를 관리
: Podfile이 필요하기 때문에 설치
sudo gem install cocoapods
2. Profile생성
: iOS 프로젝트 위치에서 'pod init'명령 실행하면 'Profile'파일이 생성 됨
3. Mobile AD SDK가져오기
: 광고를 보여주기 위한 라이브러리를 가져온다고 생각하면 된다.
: Podfile을 열어주고 pod 'Google-Mobile-Ads-SDK' 라고 작성
: (vim을 사용해도 되지만, 더 직관적이고 쉽게 open Podfile 명령어를 실행하여 파일을 열어주면 된다)
그리고 다시 터미널에서 pod install --repo-update 실행
Xcode프로젝트 내부에 이렇게 생성
근데, 빌드하면 Fail이 뜬다.
다시 Xcode를 재실행하여 확장명이 workspace인 프로젝트를 실행
4. Info.Plist ID넣기
: 누가 광고를 호출했는지 알기 위함(본인 여부)
    <key>GADApplicationIdentifier</key>
    <string>ca-app-pub-3940256099942544~1458002511</string>
5. 광고 SDK초기화
: AppDelegate application함수에 다음과 같이 선언
import GoogleMobileAds

@main
class AppDelegate: UIResponder, UIApplicationDelegate {

    func application(_ application: UIApplication, didFinishLaunchingWithOptions launchOptions: [UIApplication.LaunchOptionsKey: Any]?) -> Bool {
        // Override point for customization after application launch.
        GADMobileAds.sharedInstance().start(completionHandler: nil)
        return true
    }

    ...
}
위에 까지는 광고를 불러오기 위한 설정이며,
지금부터 '배너광고' 구현
링크 : https://developers.google.com/admob/ios/banner?hl=ko
배너 광고 | iOS | Google for Developers
더 많은 리소스로 연결되는 링크를 비롯해 AdMob의 배너 광고를 iOS 앱에 통합하는 방법을 알아보세요.
developers.google.com
1. 배너 광고 뷰 위치 설정
: UIKit로 개발 중 이며 코드로 AutoLayout을 구현해주어야 함
: 광고 배너 뷰가 아래에 있을 뷰 이름은 ' viewWorkBase ' 라는 뷰이다.
: viewWorkBaseConstraintBottom은 배너 광고 뷰가 하단에 표출 되기 위해서 이전에 있던 제약을 미리 불러오고,
: 배너 광고 뷰에 제약을 주는 시점에서 없애주기 위함이다. (조금 어려울 수 있으나 쭉~ 그대로 작업하다 보면 이해하는 시점이 올 것)
import GoogleMobileAds

class MainViewController: UIViewController {
	// 기존 뷰
    @IBOutlet var viewWorkBase: UIView!

    // 기존 뷰와 메인 뷰의 하단 제약 관계
    @IBOutlet var viewWorkBaseConstraintBottom: NSLayoutConstraint!

	// 광고 배너 뷰
    private var bannerView: GADBannerView!
}
2. 광고 배너 뷰를 추가하는 함수
: translatesAutoresizingMaskIntoConstraints 함수로 제약을 추가하기 전에 false 처리를 해주어야 함
: .addSubView 함수는 해당 뷰에 새로운 뷰를 추가하는 함수
: .addConstraints 함수는 해당 뷰에 제약 조건을 설정하는 함수
. addConstraints 함수 내에서는 아래와 같이 NSLayoutConstraint를 사용하여 제약을 설정해주어야 한다.
[NSLayoutConstraint(
    -- 어떤 뷰를?
    item: bannerView,

    -- 어떤 뷰의 어디 위치를?
    attribute: .bottom,

    -- >=, ==, <= 크기 조건
    relatedBy: .equal,

    -- 어느 뷰에?
    toItem: view.safeAreaLayoutGuide,

    -- 어느 뷰의 어디 위치에다?
    attribute: .bottom,

    -- 배율('1' 이 동일 사이즈)
    multiplier: 1,

    -- 거리 차이('0'이면 딱 붙게 됨)
    constant: 0
    )
]
// add ad banner view
private func addBannerView(_ bannerView: GADBannerView) {
bannerView.translatesAutoresizingMaskIntoConstraints = false
view.addSubview(bannerView)
view.addConstraints(
[NSLayoutConstraint(
item: bannerView,
attribute: .bottom,
relatedBy: .equal,
toItem: view.safeAreaLayoutGuide,
attribute: .bottom,
multiplier: 1,
constant: 0),
NSLayoutConstraint(
item: bannerView,
attribute: .centerX,
relatedBy: .equal,
toItem: view,
attribute: .centerX,
multiplier: 1,
constant: 0)
])
// 메인 view와 viewWorkBase와의 Bottom 제약 제거
// bannerView위에 올려놓기 위함
view.removeConstraint(viewWorkBaseConstraintBottom)
viewWorkBase.translatesAutoresizingMaskIntoConstraints = false
view.addConstraints(
[NSLayoutConstraint(
item: viewWorkBase!,
attribute: .bottom,
relatedBy: .equal,
toItem: bannerView,
attribute: .top,
multiplier: 1,
constant: 0)
])
}
3. 광고 로드
: viewDidLoad 생명 주기 함수에서 다음과 같이 광고 배너 뷰를 로드 시켜주어야 함
    override func viewDidLoad() {
        super.viewDidLoad()
        // Do any additional setup after loading the view.

        // AD Banner View
        bannerView = GADBannerView(adSize: GADAdSizeFullBanner)
        addBannerView(bannerView)

        bannerView.adUnitID = "ca-app-pub-3940256099942544/2934735716"
        bannerView.rootViewController = self
        bannerView.load(GADRequest())
    }
그럼, 광고가 작업 뷰 아래에 띄어지게 된다.
'dev > ios' 카테고리의 다른 글
| [iOS] Firebase 파이어베이스 연결(RealtimeDatabase) (0) | 2023.10.19 |
|---|---|
| [Xcode] error: Sandbox: rsync.samba(4448) deny(1) (0) | 2023.10.19 |
| [iOS] 다국어 언어 설정 (0) | 2023.10.17 |
| [Xcode] 아이폰 개발자모드 켜기 (0) | 2023.10.13 |
| [iOS] 버튼에 모형 넣기(라디오 버튼) (0) | 2023.10.12 |